Adding the WCO to your wallet is a simple process. Here’s a step-by-step guide to help you get started:
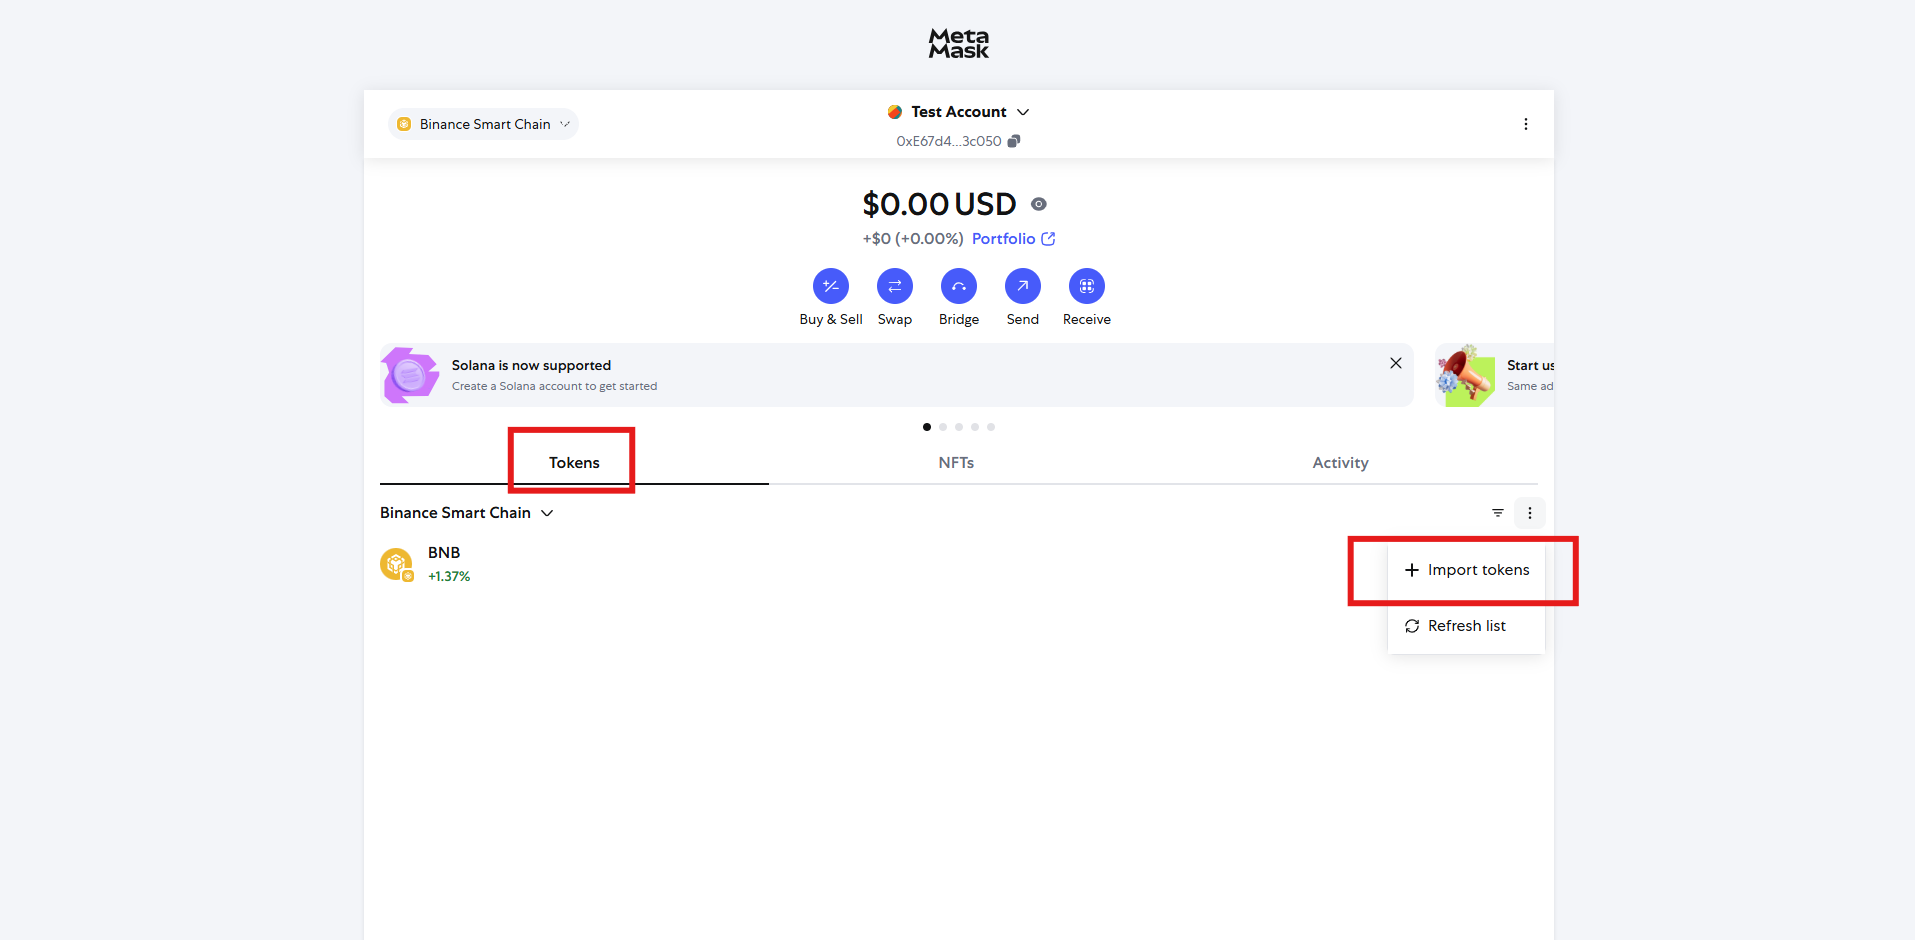
Step 1: Open Your Wallet
Open your preferred wallet application (e.g., MetaMask, Trust Wallet) that supports multiple networks.
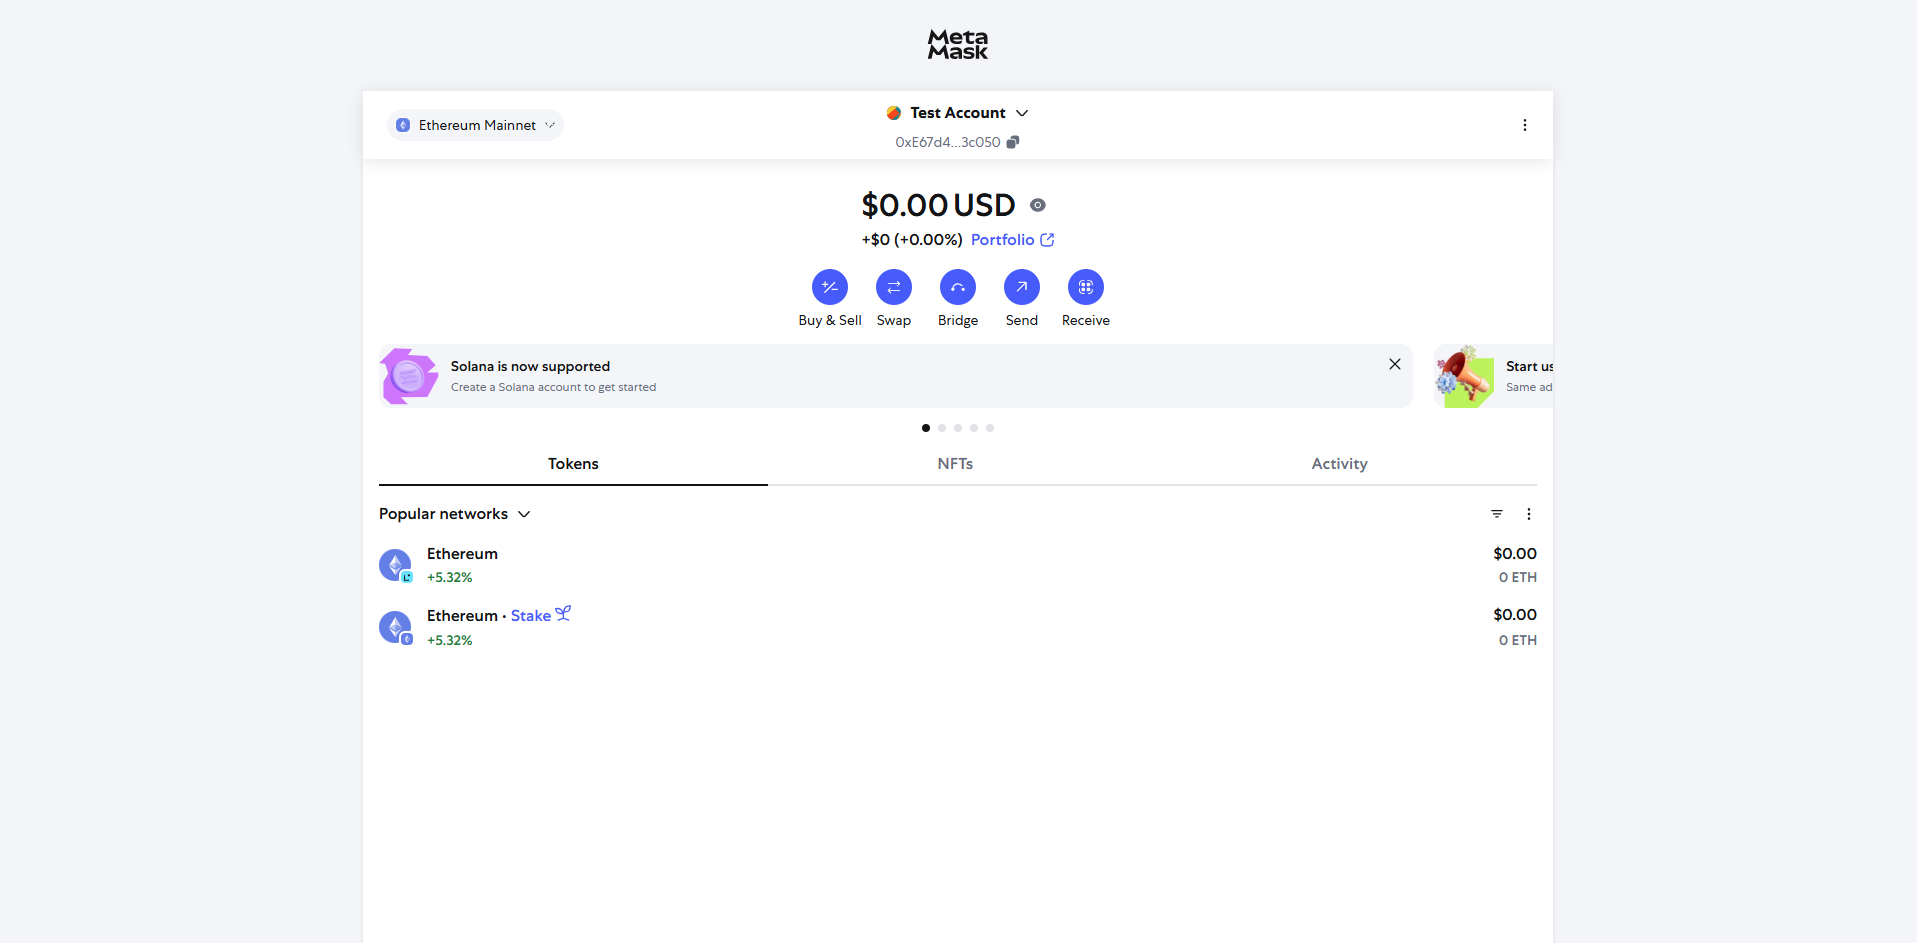
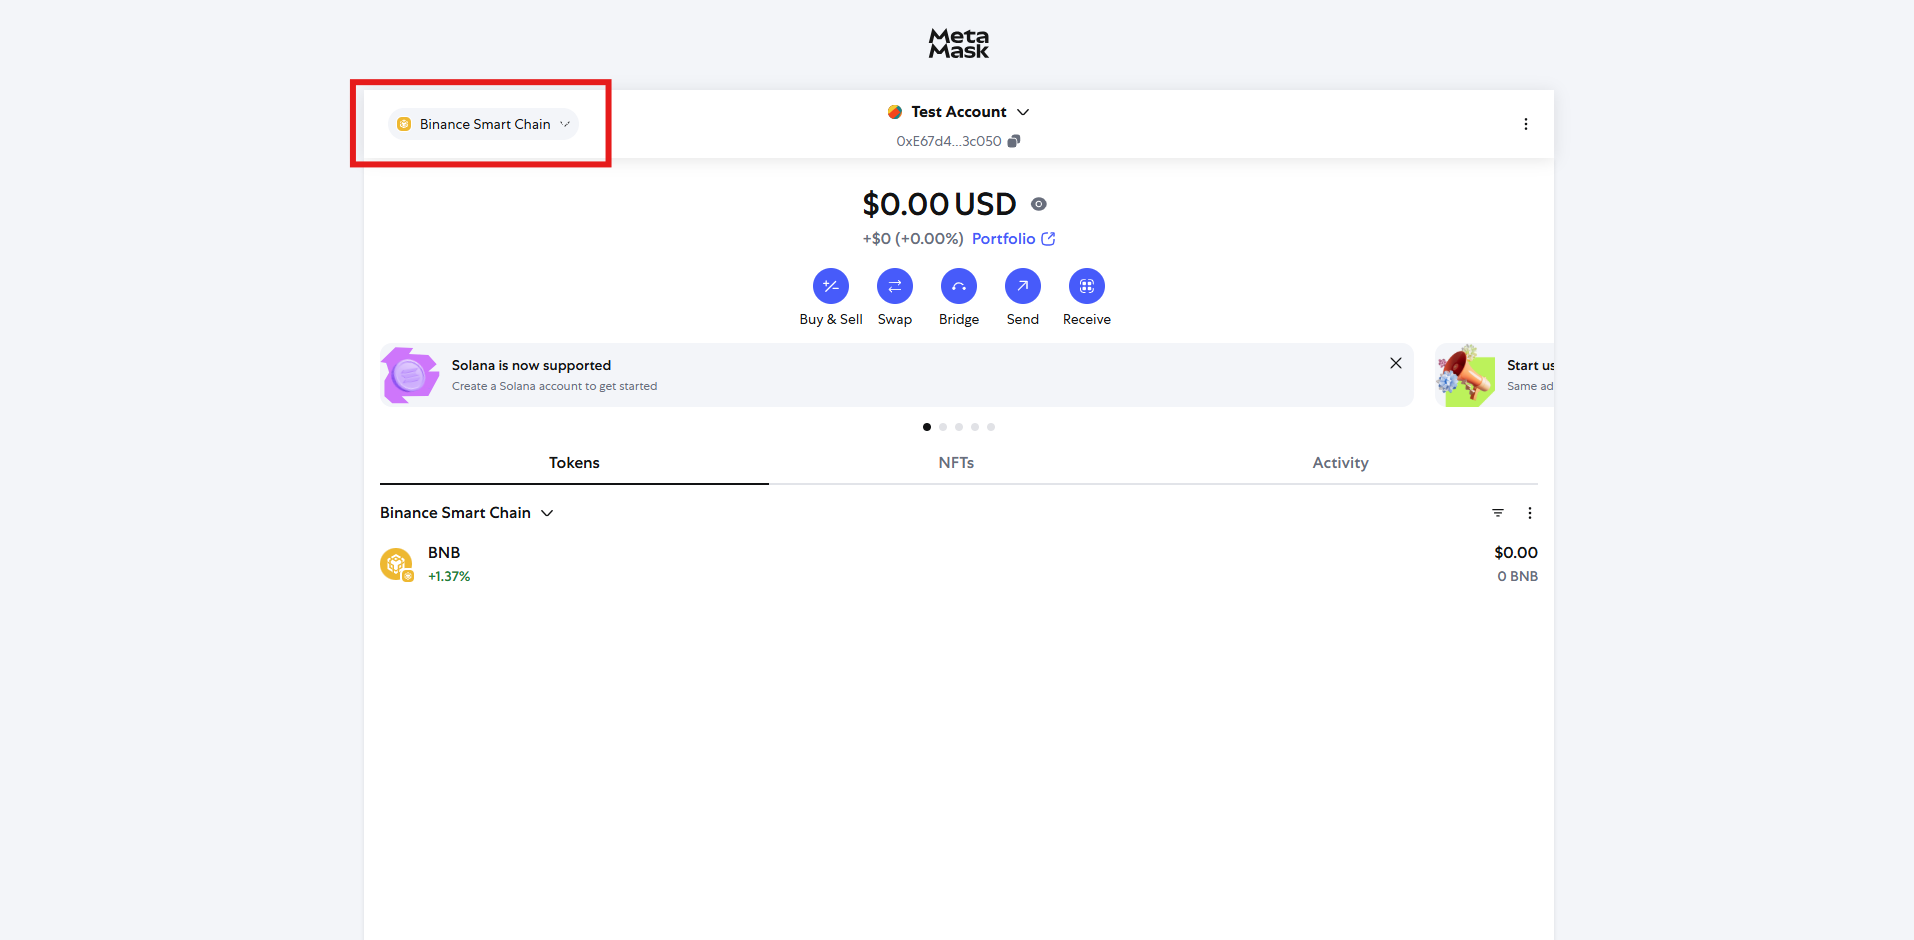
Step 2: Select the Appropriate Network
Choose the network where you want to add WCO:
- Ethereum Mainnet for Ethereum
- Binance Smart Chain (BSC) for BSC
- XinFin XDC Network for XDC
Step 3: Add WCO as a Custom Token
- Navigate to the “Assets” or “Token” tab in your wallet.
- Click on “Import Token” or “Add Custom Token.”
Step 4: Enter Token Contract Details
Use the following contract addresses and details based on the chosen network:
Responsive Table
Network | Token Contract Address | Token Symbol | Decimals |
---|---|---|---|
Ethereum | 0x991bb3506C1d7F275cDF9aFb2902F7DF0f7537BF | WCO | 18 |
BSC | 0x55692ad567A020FE91609FFB8DA5f6fae250dBf8 | WCO | 18 |
XDC(EVM compatible Wallets) | 0xd285d62d81d4d57cd1baad503ce71d2149ba2990 | WCO | 18 |
XDC(NON -EVM compatible) | xdcd285d62d81d4d57cd1baad503ce71d2149ba2990 | WCO | 18 |
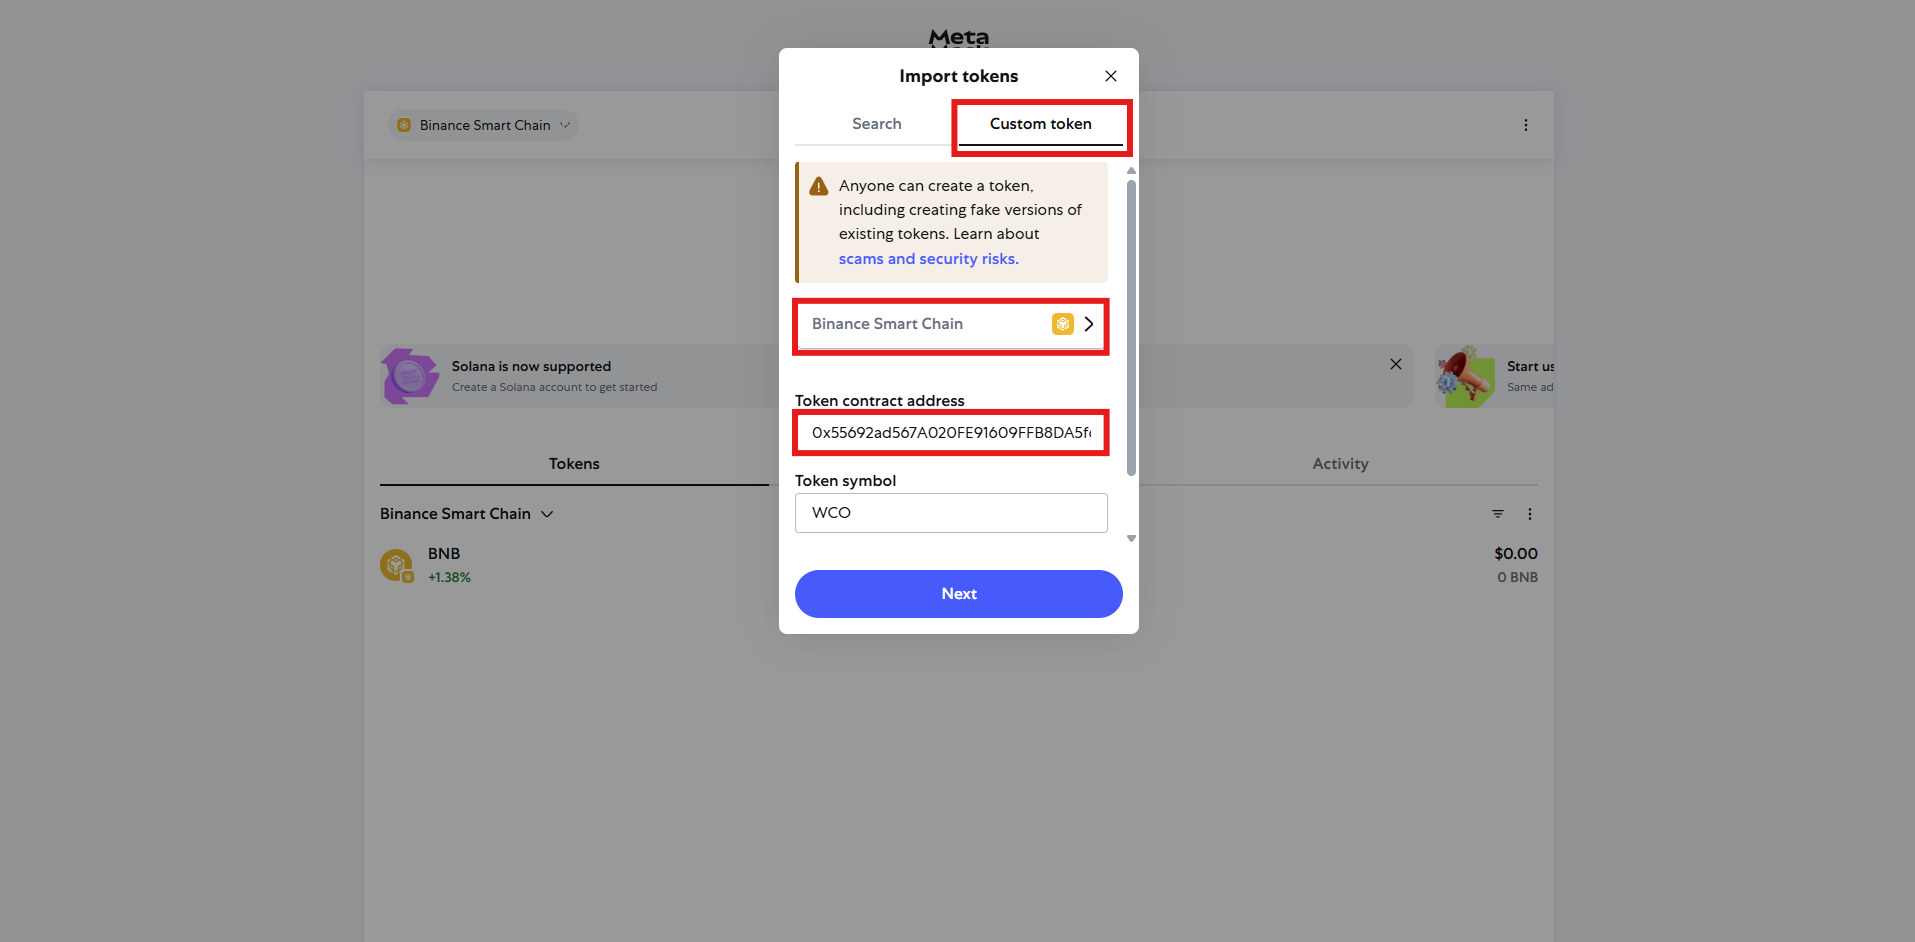
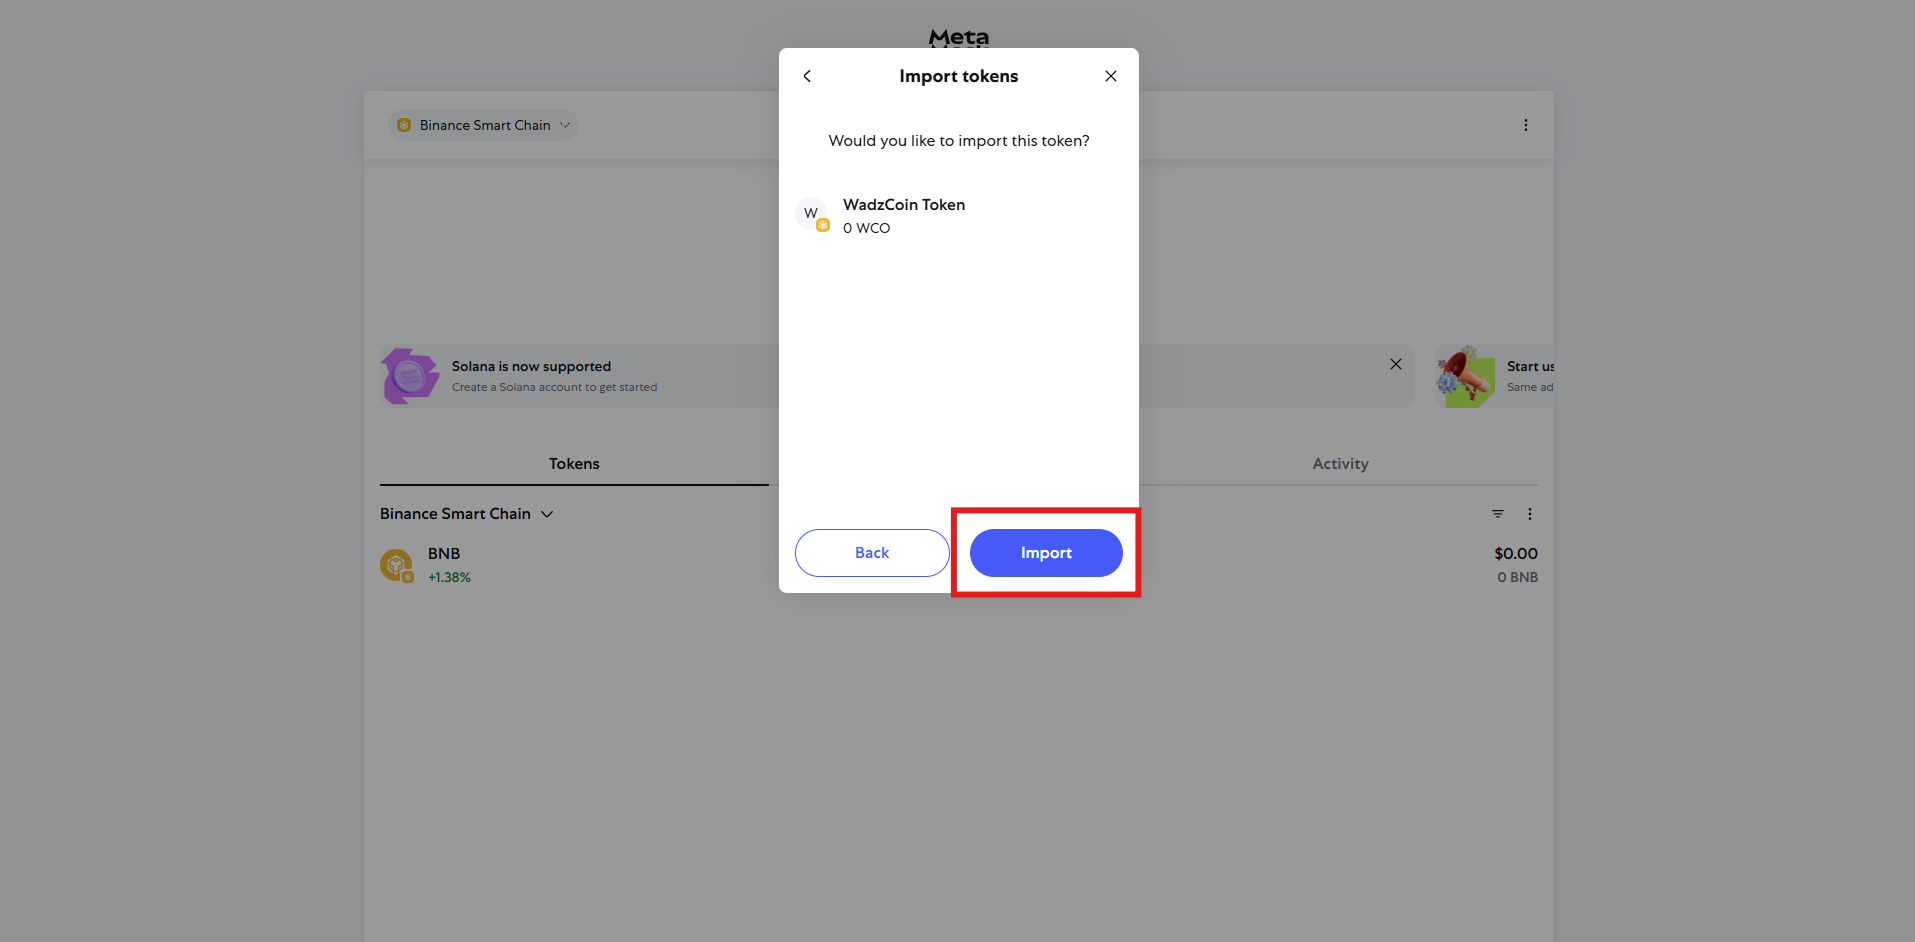
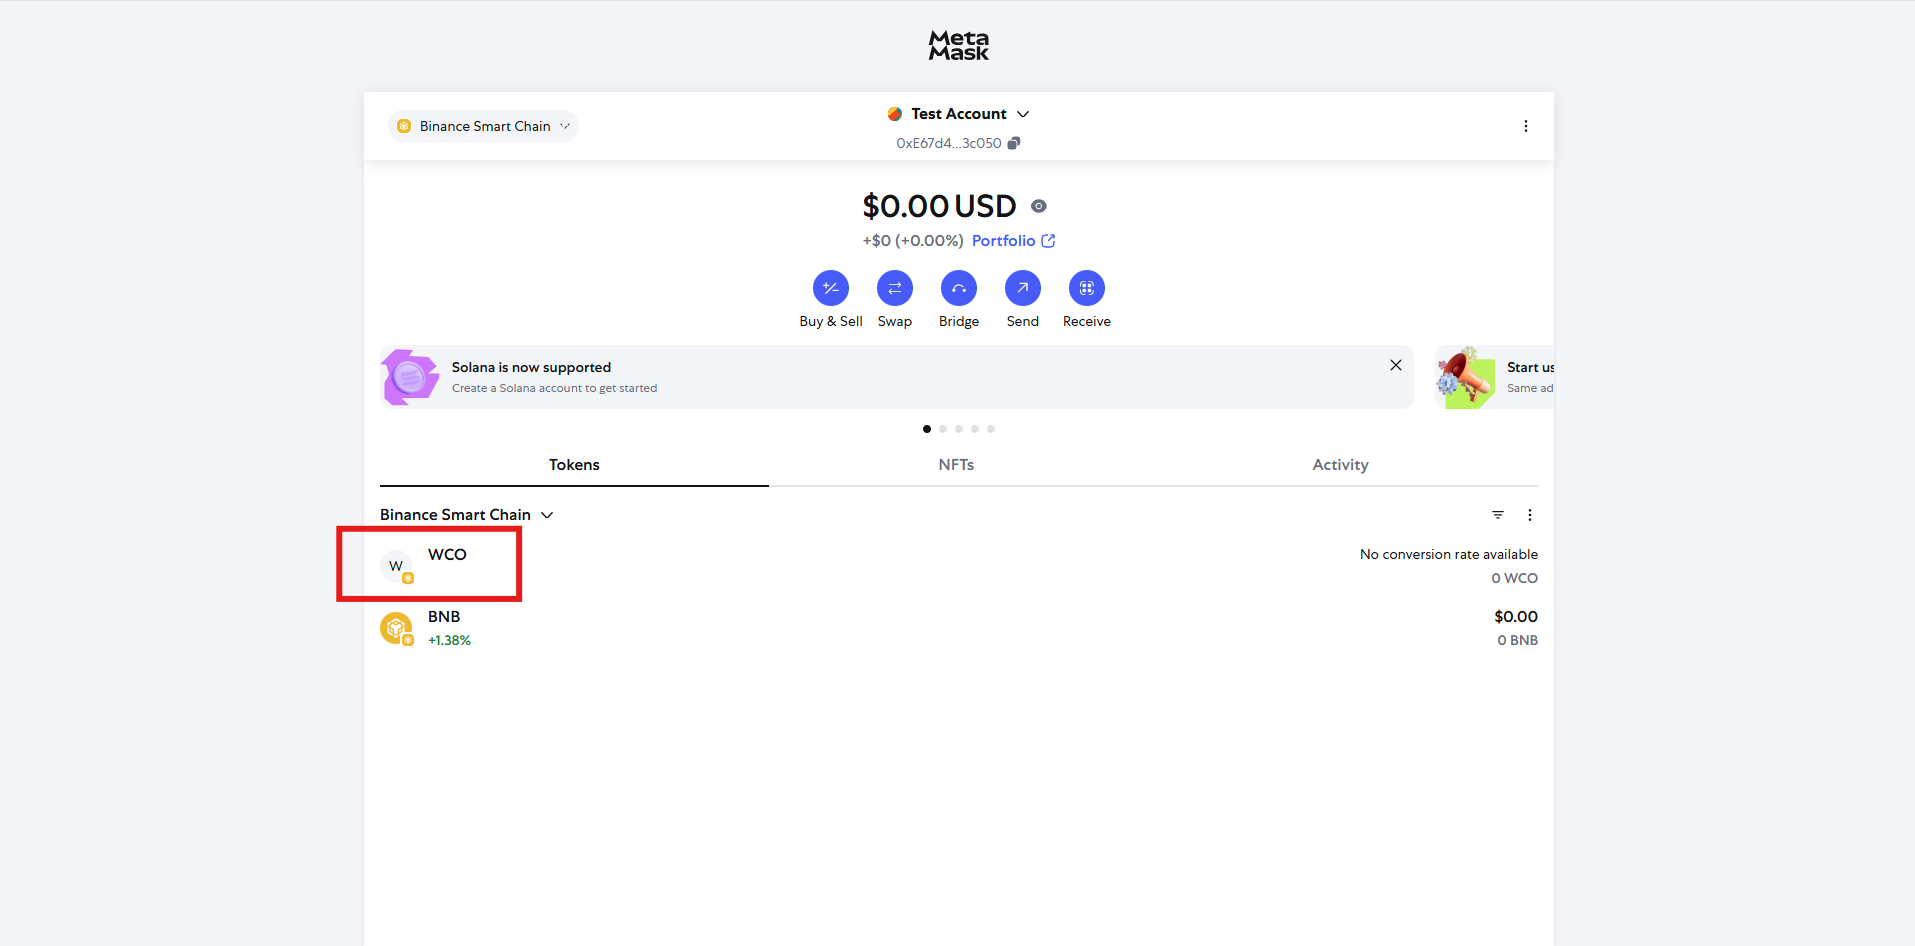
Step 5: Confirm and Add
- After entering the correct details, click “Add Custom Token” or “Import Token.”
- The WCO Token should now appear under your assets for the selected network.
Step 6: Repeat for Each Network (Optional)
If you want to add WCO to multiple networks, repeat steps 2-5 for each network.
By following these simple steps, you can easily add WCO to your wallet and start exploring the exciting world of W Chain.